Advanced Authentication in Next.js with Tailwind CSS
OVERVIEW • APR 2025
Getting Started
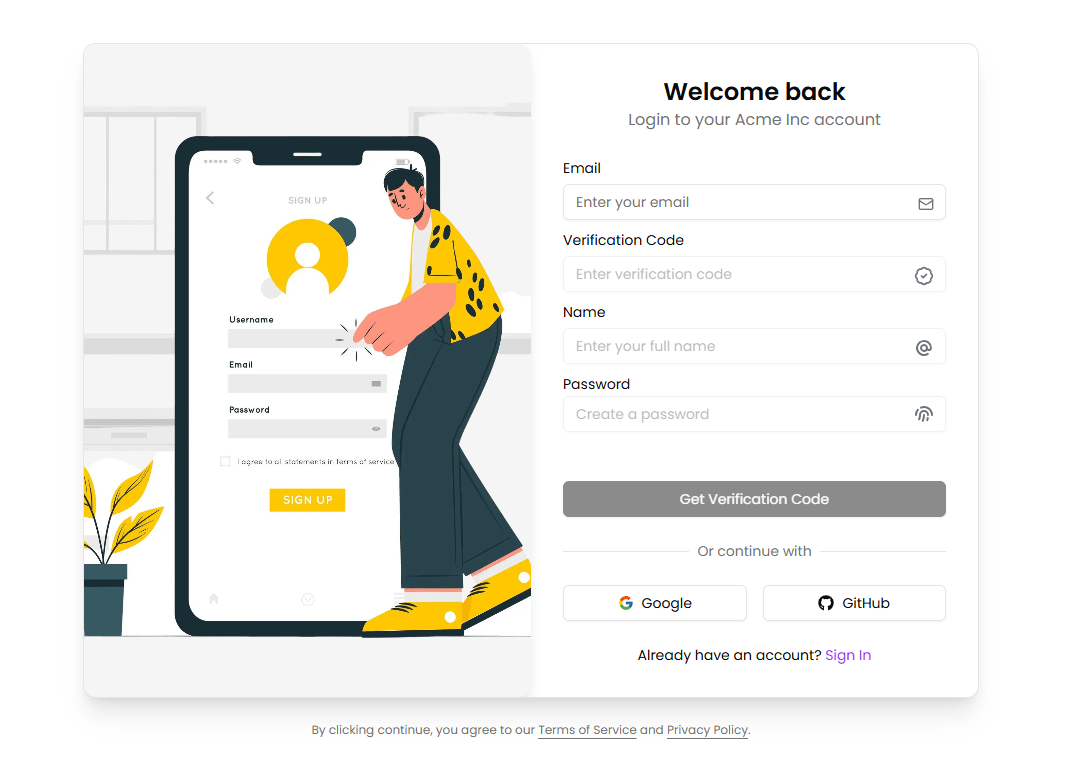
Welcome to the comprehensive guide for using our Authentication Template. This powerful tool simplifies the implementation of secure user authentication in your projects.
CONFIGURATION • APR 2025
Environment Configuration
Setting up your .env file
Configure your environment variables for optimal security
Create a .env file in the backend directory with the following variables:
MONGODB_URI=mongodb://localhost:27017/your_database

FRONTEND_URL=http://localhost:3000

BACKEND_URL=http://localhost:5000

SESSION_SECRET=your_secret_key

JSONWEBTOKEN_SECRET=your_jwt_secret

EMAIL_HOST=smtp.example.com

EMAIL_PORT=587

EMAIL_FROM=your_email@example.com

EMAIL_PASS=your_email_password

GOOGLE_CLIENT_ID=your_google_client_id

GOOGLE_CLIENT_SECRET=your_google_client_secret

GITHUB_CLIENT_ID=your_github_client_id

GITHUB_CLIENT_SECRET=your_github_client_secret
SESSION_SECRET & JWT_TOKEN
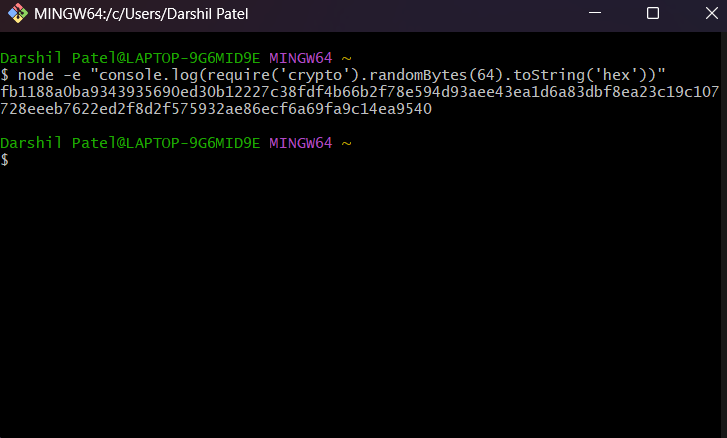
Use a secure random string generator to create these secret keys. You can use the following command in your terminal:
"node -e "console.log(require('crypto').randomBytes(64).toString('hex'))""Run this command twice to generate both SESSION_SECRET and JSONWEBTOKEN_SECRET.
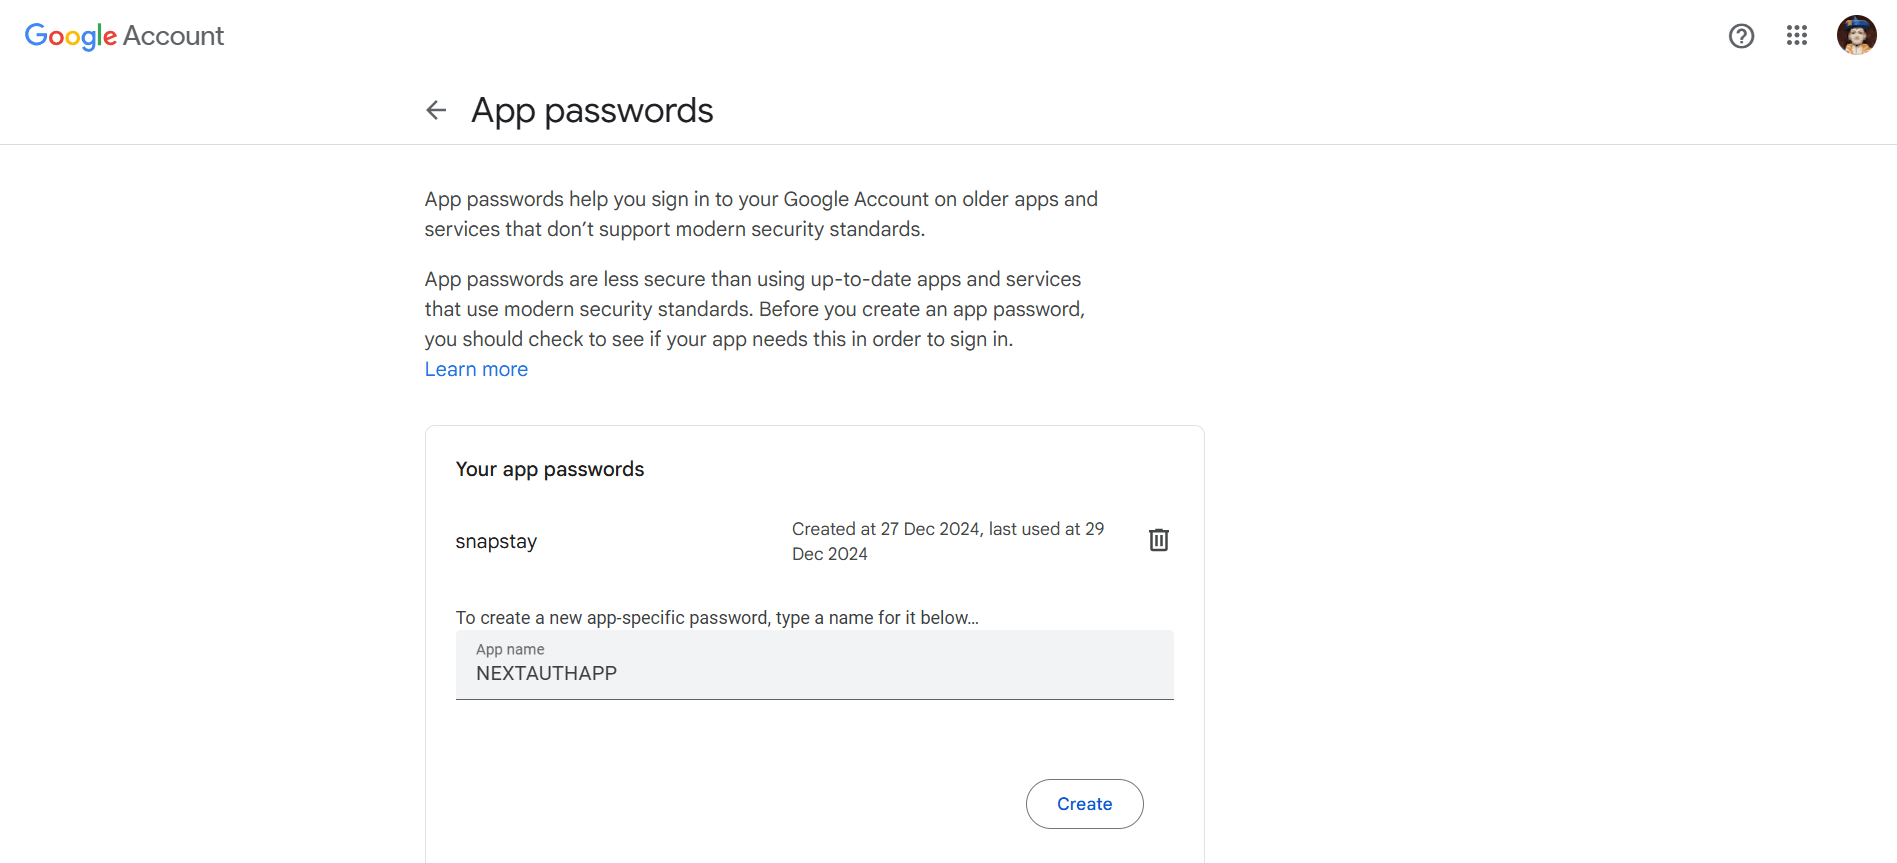
Email Configuration
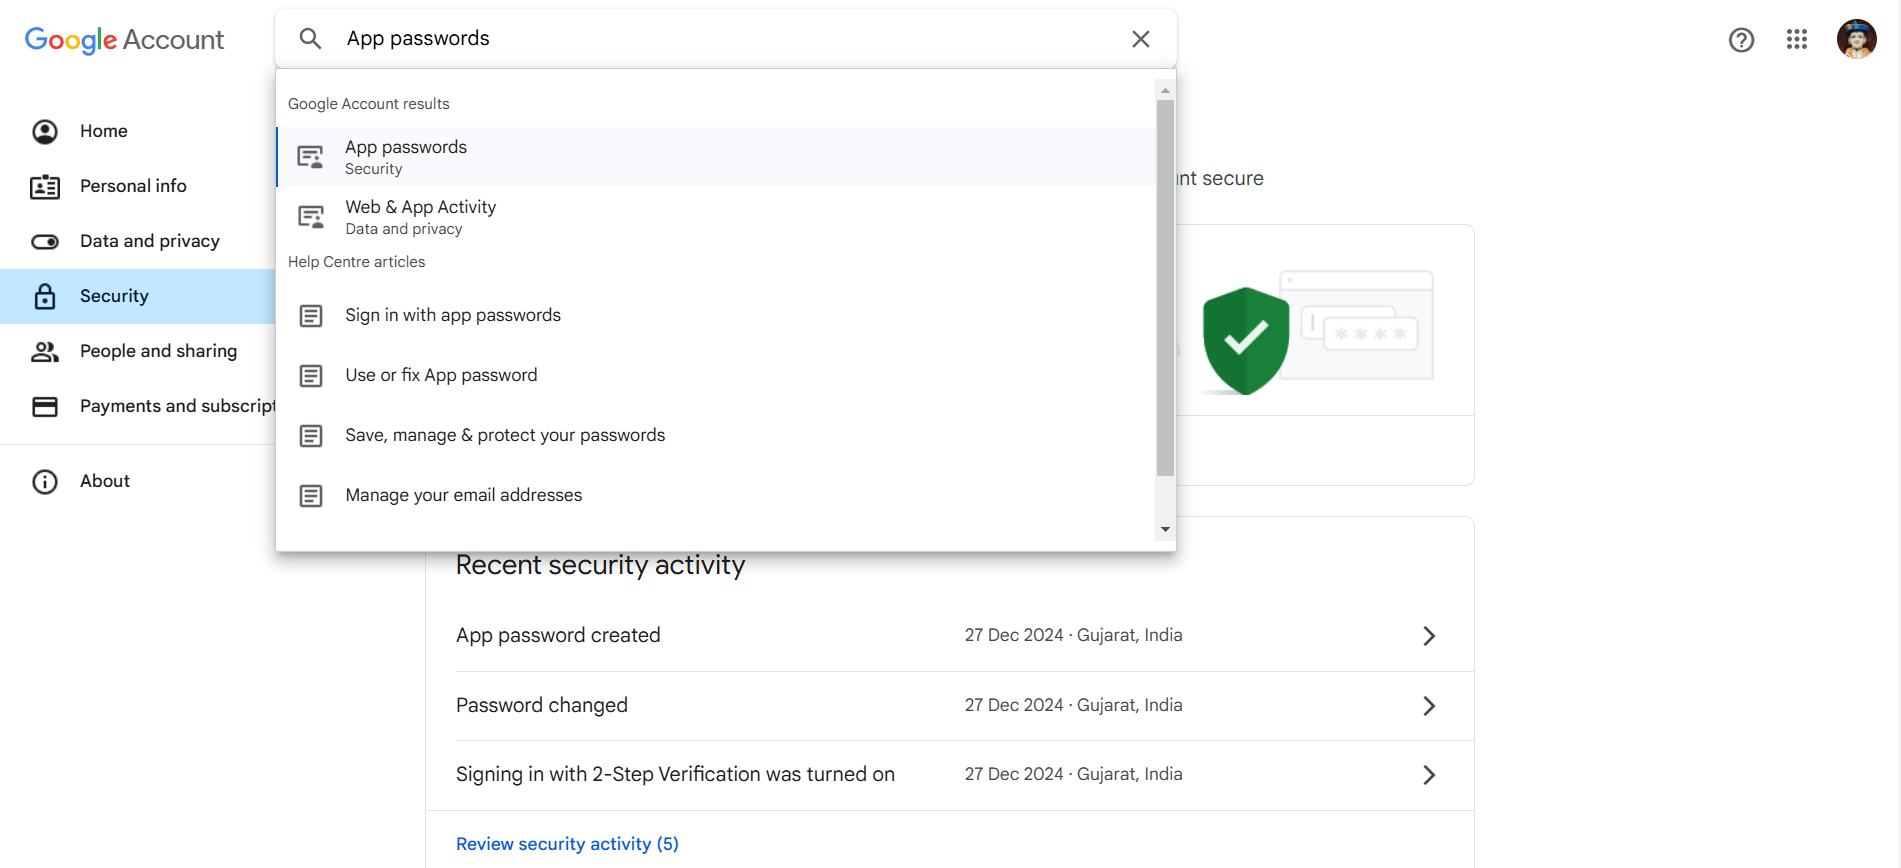
To set up email configuration for Gmail:
- Go to your Google Account settings.
- Navigate to the "Security" tab.
- Enable "2-Step Verification" if not already enabled.
- Go to "App passwords" under "Signing in to Google".
- Select "Mail" and "Other (Custom name)" from the dropdowns.
- Enter a name for the app (e.g., "AuthTemplate").
- Click "Generate" to get your app password.
- Use this password as your EMAIL_PASS in the .env file.

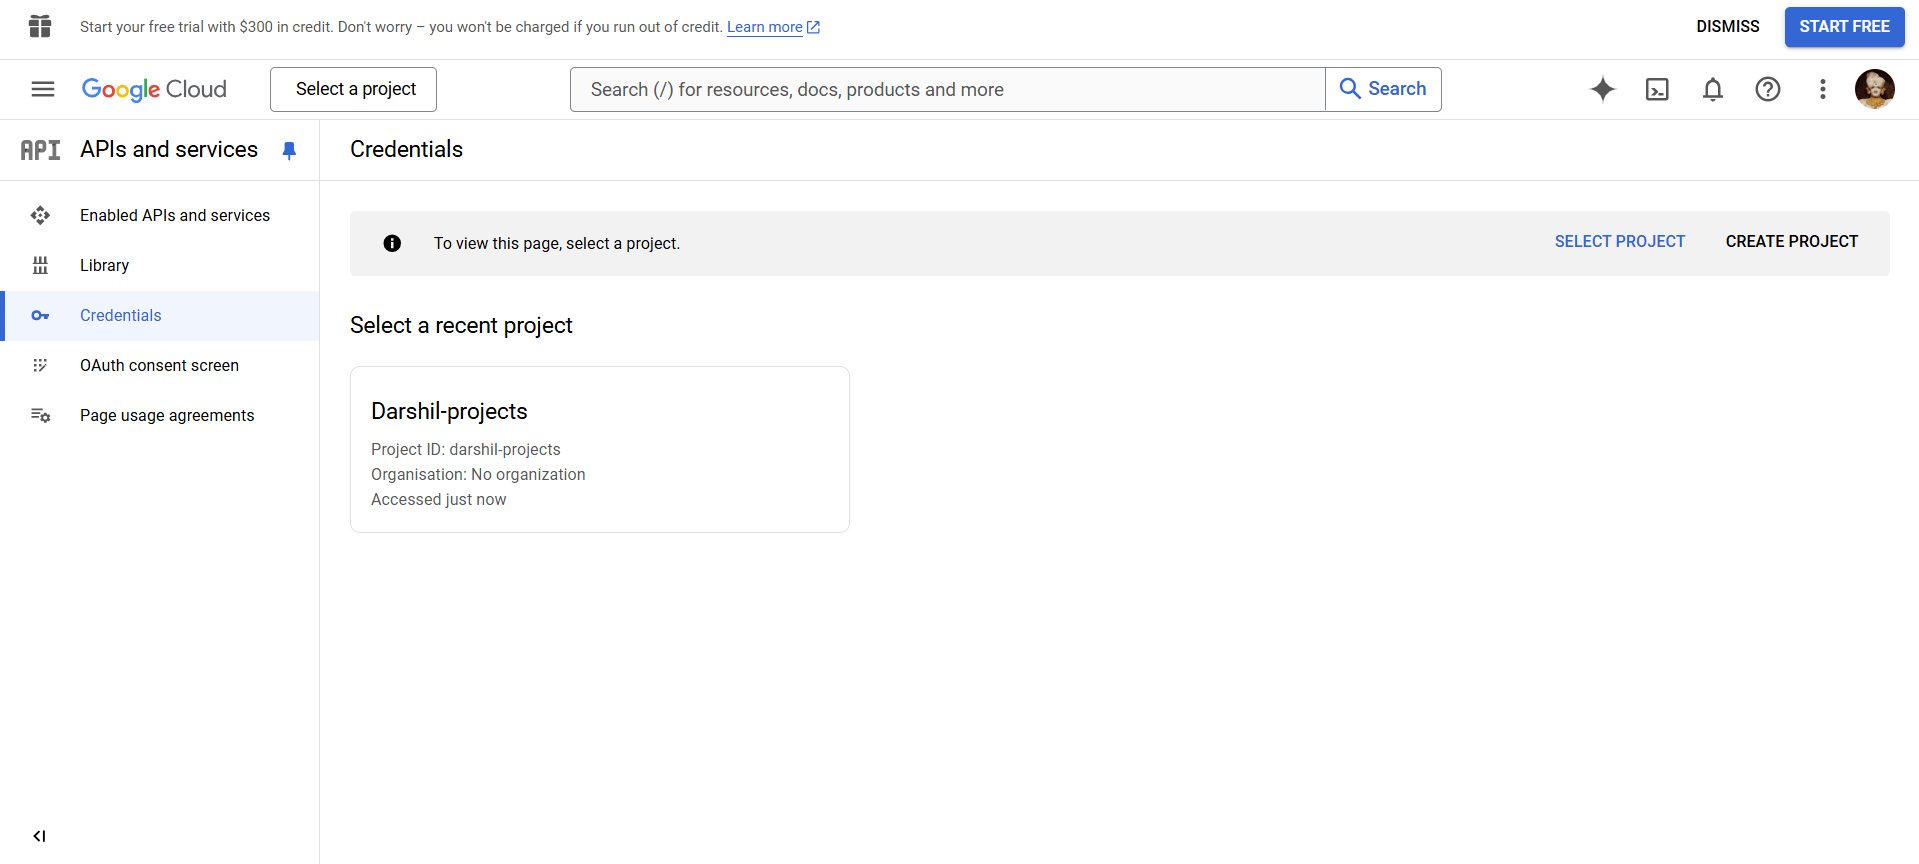
Google OAuth Credentials
To set up Google OAuth:
- Go to the Google Cloud Console (https://console.cloud.google.com/).
- Create a new project or select an existing one.
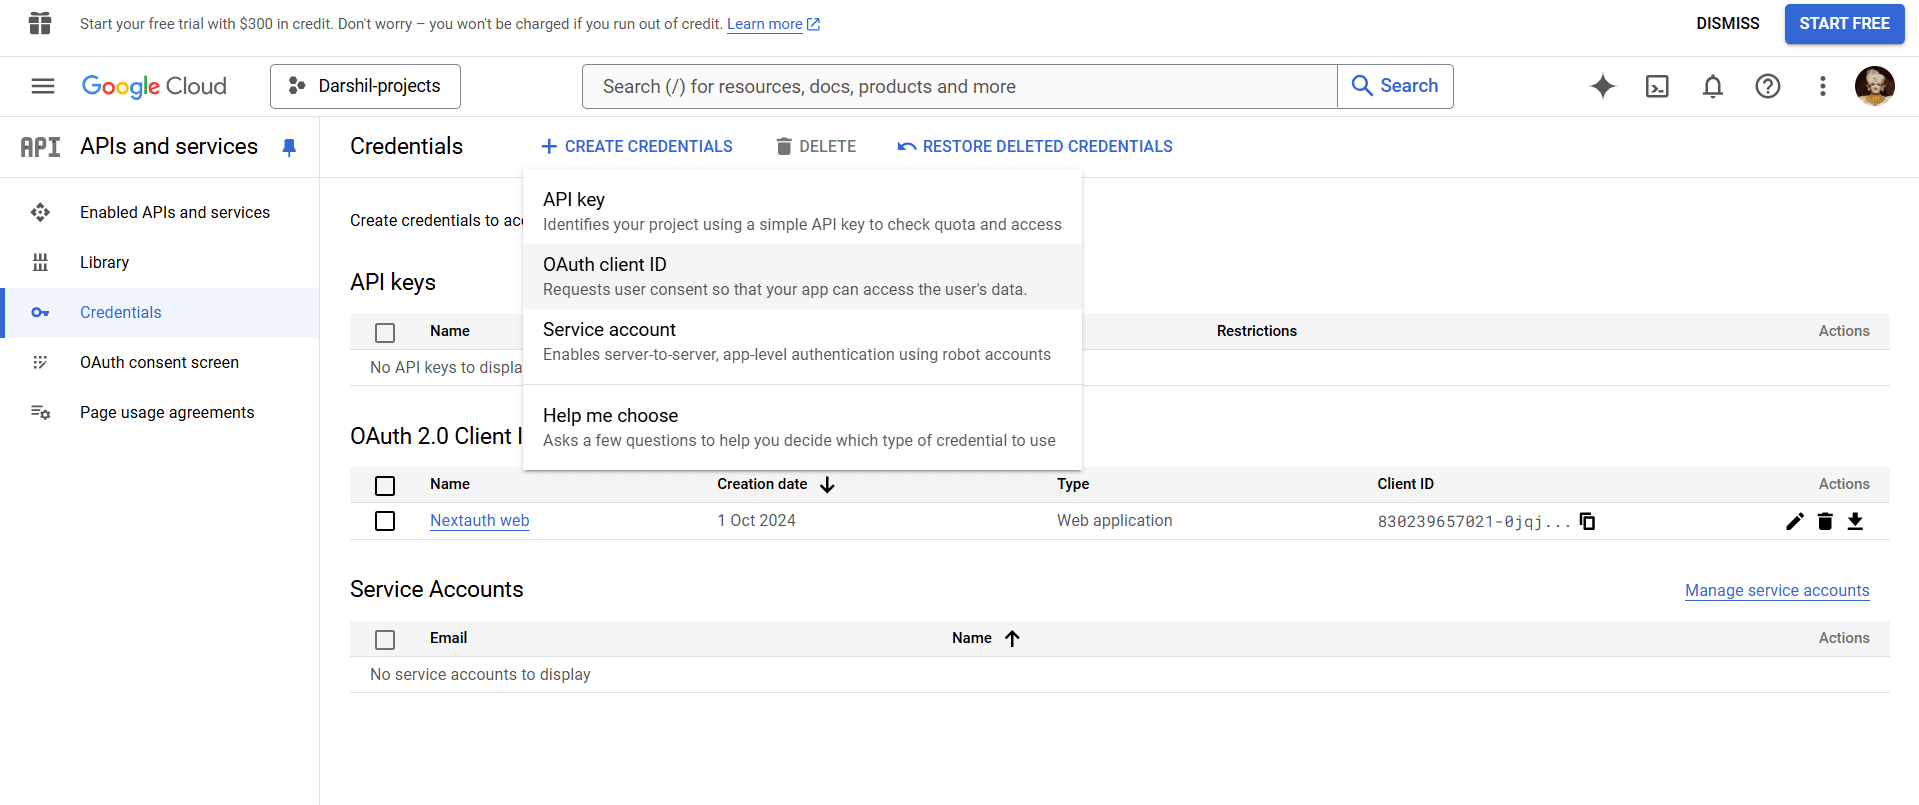
- Navigate to "APIs & Services" > "Credentials".
- Click "Create Credentials" and select "OAuth client ID".
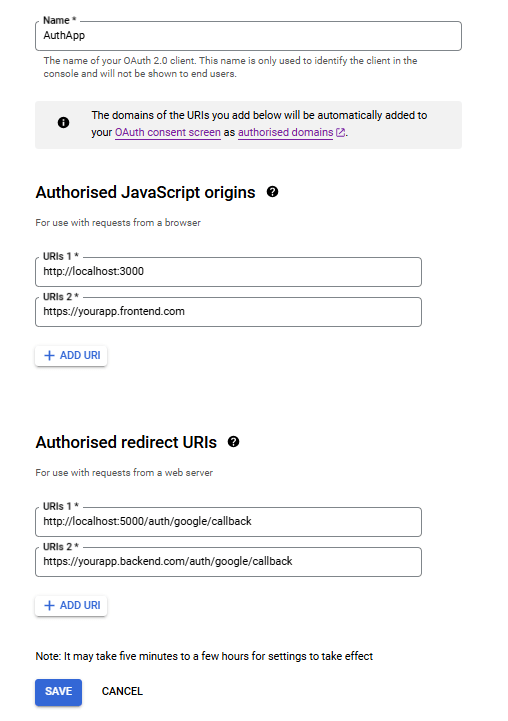
- Choose "Web application" as the application type.
- Add authorized JavaScript origins (e.g., http://localhost:3000).
- Add authorized redirect URIs (e.g., http://localhost:5000/auth/google/callback).
- Click "Create" to generate your client ID and client secret.
- Use these as GOOGLE_CLIENT_ID and GOOGLE_CLIENT_SECRET in your .env file.
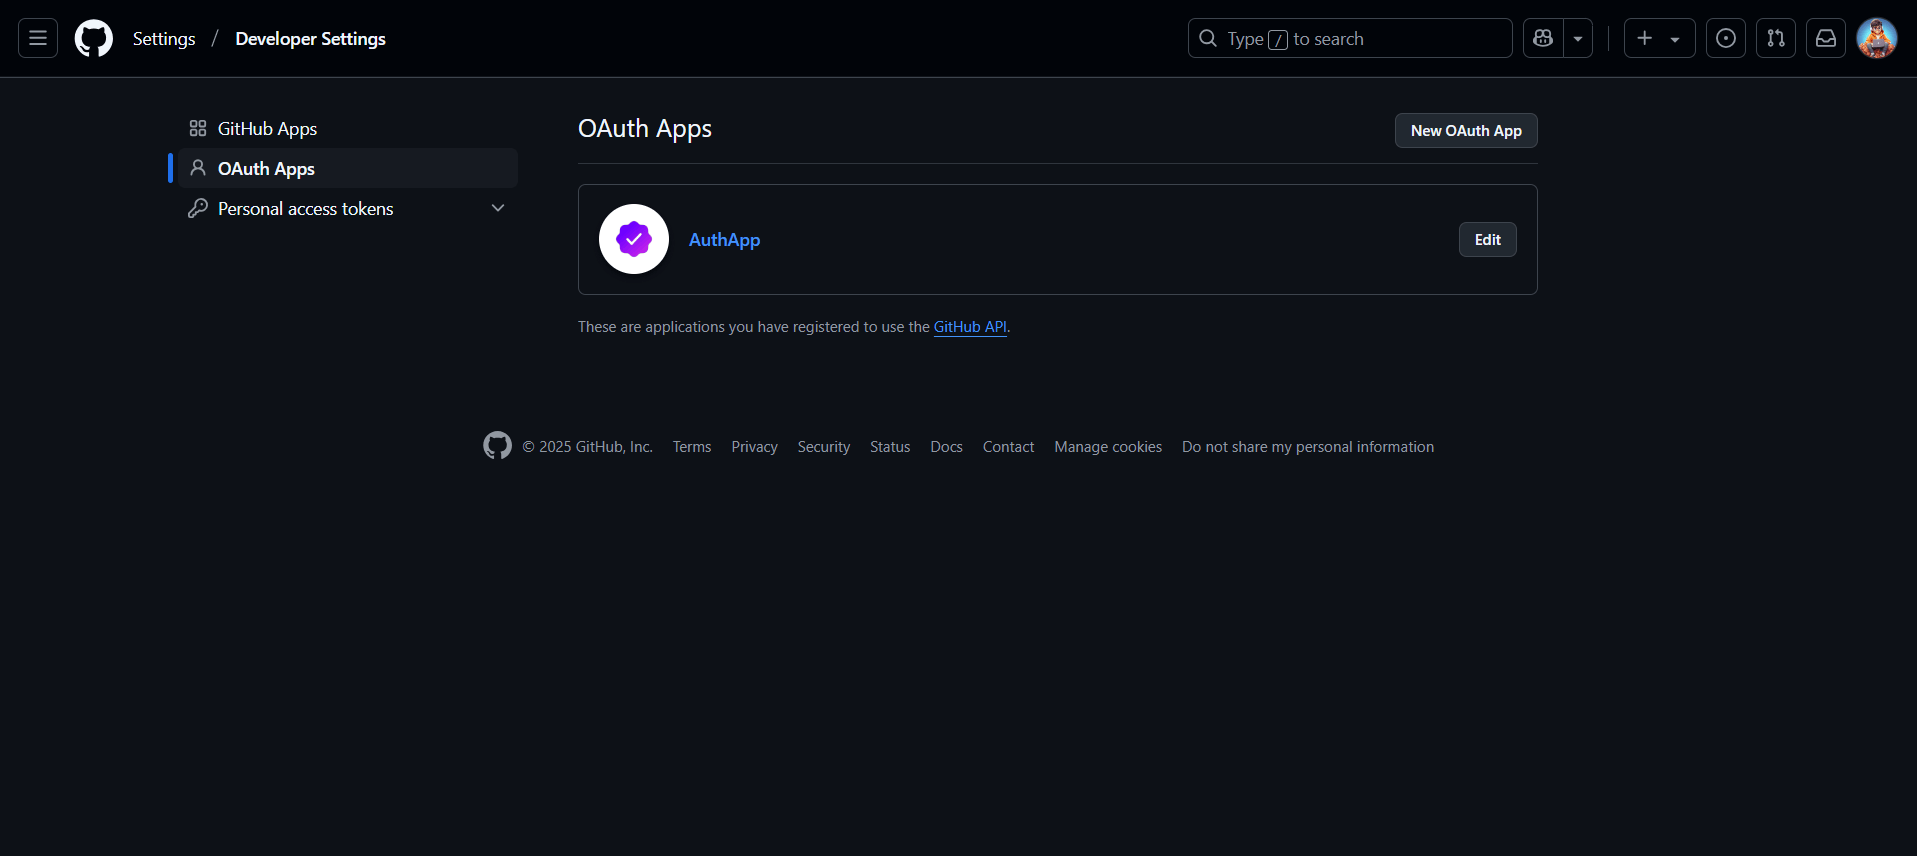
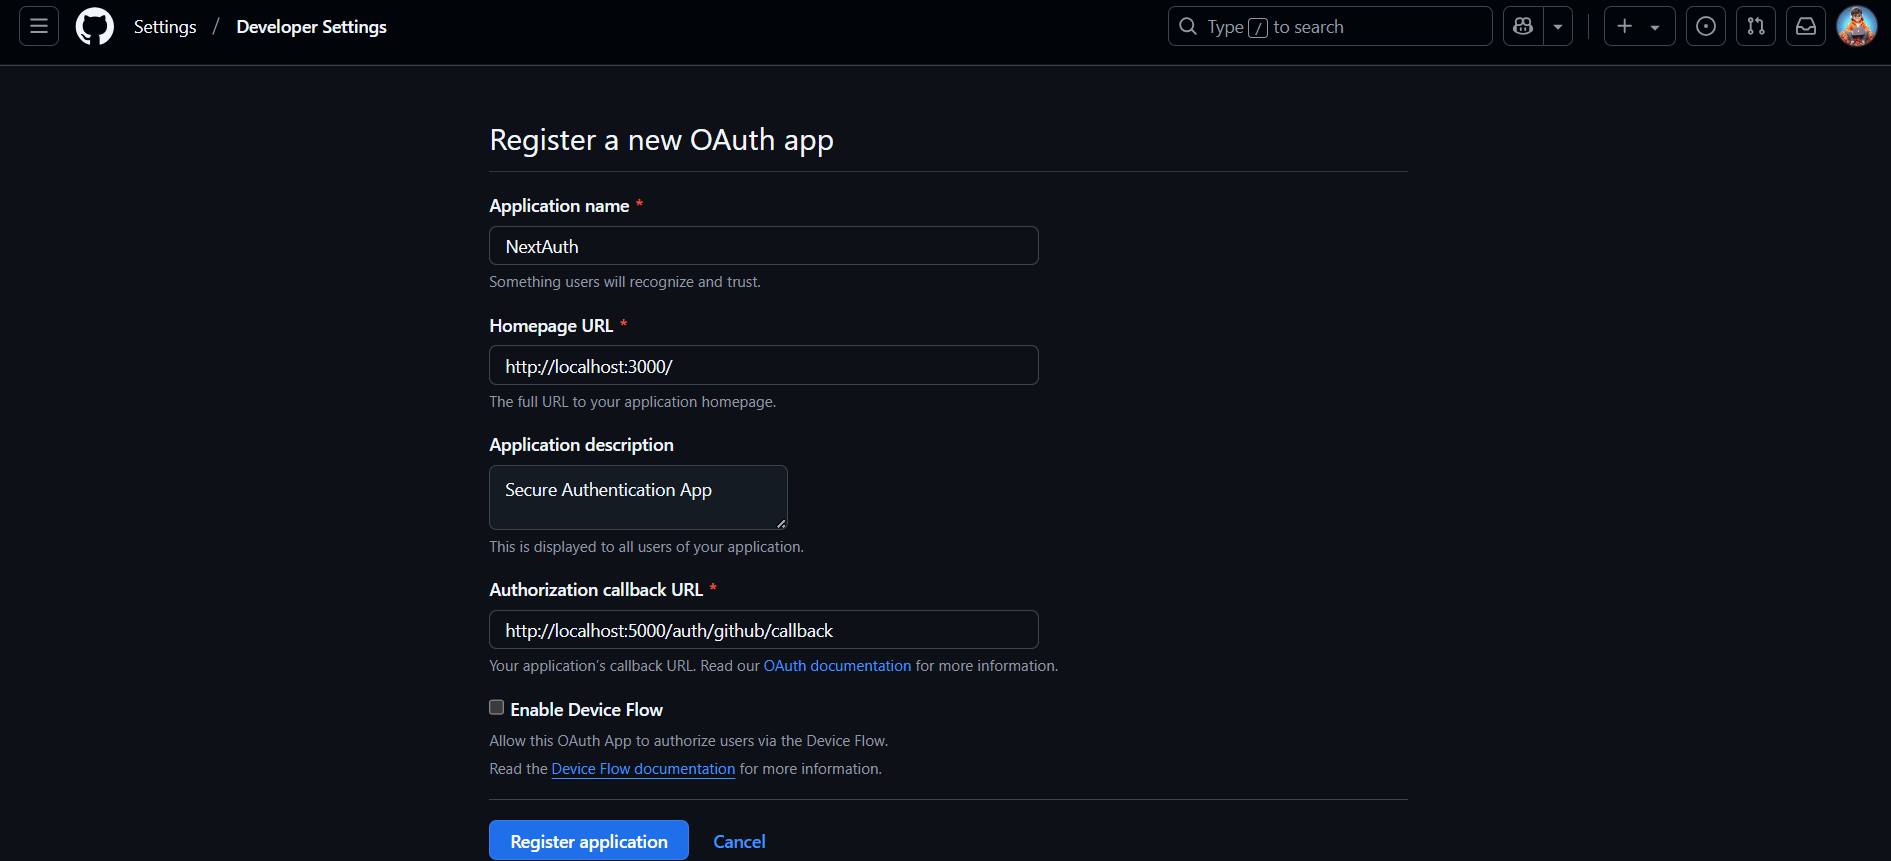
GitHub OAuth Credentials
To set up GitHub OAuth:
- Go to GitHub and navigate to Settings > Developer settings > OAuth Apps.
- Click "New OAuth App".
- Fill in the application name, homepage URL, and authorization callback URL.
- Click "Register application" to create your OAuth app.
- You'll see your new client ID. Click "Generate a new client secret".
- Use these as GITHUB_CLIENT_ID and GITHUB_CLIENT_SECRET in your .env file.
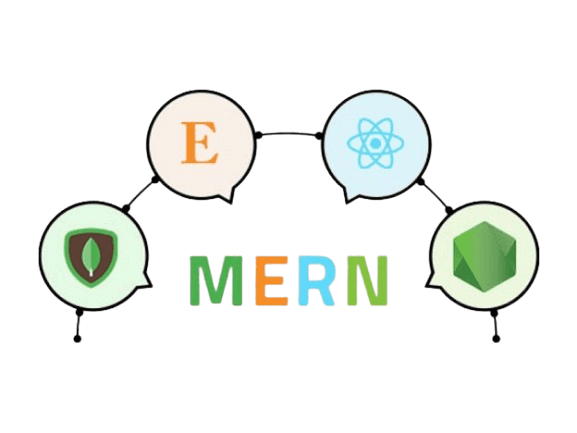
TECH STACK • APR 2025
Tech Stack Overview
Frontend
Building dynamic user interfaces
- React.js for component-based UI development
- Next.js for server-side rendering and routing
- Tailwind CSS for responsive and customizable styling
- Redux Toolkit for state management
- Axios for API requests
Backend
Powering your application server
- Node.js and Express.js for scalable server-side logic
- MongoDB for flexible, document-based data storage
- JWT for secure authentication token handling
- Passport.js for authentication strategies
- Mongoose for MongoDB object modeling